


Manager's Lunch – Page 3 of 3
The final page of this tutorial covers the creation of a sandwich, and shows you how to turn the whole image into a website.
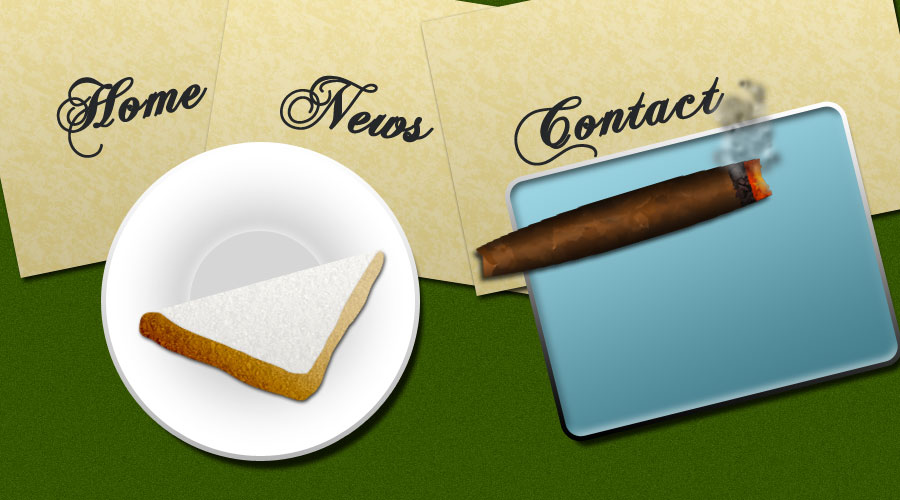
7 – Baking some bread
 Set your foreground colour to white. Use the Pen Tool, to draw a simple triangle shape, for the top slice of bread. Again, make sure Shape Layers (at the top left of the screen) is selected.
Set some Blending Options for your bread:
- Gradient Overlay (Opacity: 8%.)
- Pattern Overlay (Opacity 10%. Pattern: Dirt. It's in Rock Patterns.)
- Sometimes texture choices don't make any sense. No one has to know it's a dirt sandwich though. :)
 Create a new layer.
 Use the Lasso Tool to draw a crust-shaped area. This might take a few attempts. The area should be thicker on the left hand side, and thinner on the right. You can always use Shift+Click, to add to your selection, and Alt+Click to subtract from it.
 Choose a light tan colour (I used #E3C996 here), and fill the area, by pressing Alt+Backspace, or by using the Paint Bucket Tool.
Move this layer above the white bread layer, and apply some Blending Options:
- Drop Shadow (Distance: 2px. Size: 4px.)
- Gradient Overlay (Blend Mode: Color Burn. Opacity 77%. Angle: 61°.)
- Pattern Overlay (Opacity 10%. Pattern: Dirt.)
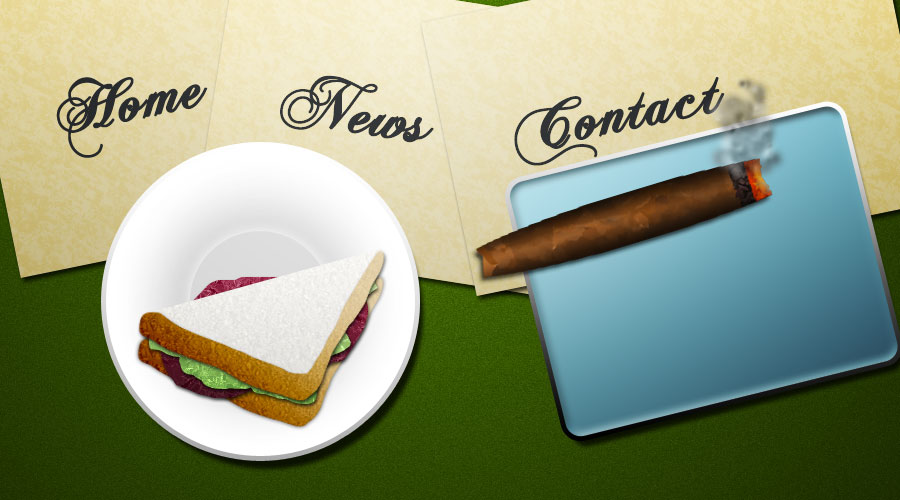
8 – Make yourself a sandwich
 Create a new Layer Set. Put the sandwich parts into it. Right-click the layer set, and duplicate it.
 Use the Move Tool to move the layer set of the second slice of bread downwards.
Change the Drop Shadow of the lower crust. It's very close to the plate, so its shadow will be less severe.
- Drop Shadow (Distance: 0px. Size: 5px.)
To create two different fillings for your sandwich, do the following process twice:
Create a new layer.
Use the Lasso Tool to draw the shape of some filling for your sandwich.
Choose an appropriate colour, and press Alt+Backspace, to fill the selection. (I used colours #D2FBA5 for the lettuce, and #A3556A for the meat.)
Add some blending options to your filling:
- Drop Shadow (Distance: 2px. Size: 4px.)
- Gradient Overlay (Blend Mode: Overlay. Opacity 31%.)
- Pattern Overlay (Mode: Difference. Opacity 35%. Pattern: Rust Flakes. It's in Texture Fill.)
To finish off, I added a quick layer of lighting.
Create a new layer.
 Choose the Gradient Tool, and set it to Radial Gradient (at the top of the screen.) With colours white and black, apply the gradient down the image.
9 – Getting the image into your web page editor
Click File > Save for Web & Devices. Choose JPEG, quality 60.
If you don't know how to put this image into a web page, I'd recommend setting the page background to black, putting a centred table on the page, and putting this image inside the table.
 Use the Rectangular Marquee Tool to select a long, narrow strip from the bottom of your image. Click Image > Crop, and then File > Save for the Web and Devices, again.
Set this new image as the background of your table, and then just start typing in the table, underneath the main image.
