


A Touch of Class Web Design Tutorial – Page 2 of 2
The last half of this tutorial covers the addition of pictures and text, and slicing up the image.
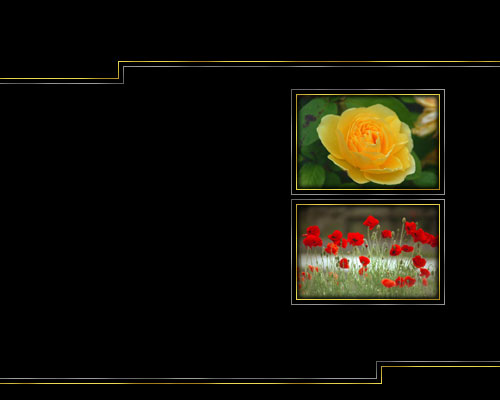
5 – Embedding the pictures
The idea is to make the pictures look like they're recessed into the image. The double border gives the impression of depth, but an Inner Glow is necessary to complete the effect.
In Photoshop 6.0 or Photoshop 7.0, double-click the picture layer in the layers list, or right-click it and select "Blending Options". If you're using Photoshop 5.5, right-click the layer, and choose "Effects". Choose "Inner Glow", and set the Choke to 30%, and the Size to 8.
 To put in another picture, just duplicate the gold and grey border layers, by dragging them onto the New Layer button.
To copy the Inner Glow, right-click the original picture layer, and select "Copy Layer Style". Then right-click on the new picture, and choose "Paste Layer Style".
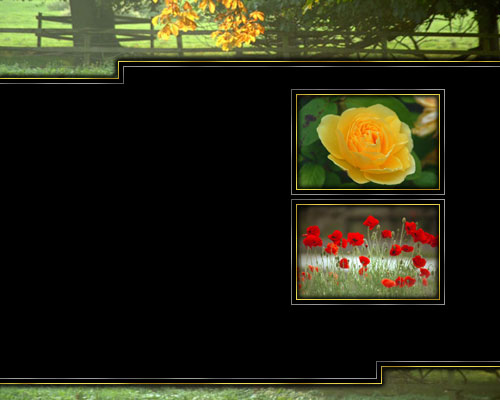
6 – Making a web page header and footer
Get a nice, big, new image, and drag it into your main file. Drag it down almost to the bottom of your layers list, so it's under everything else. This allows you to position it easily.
Drag the layer onto the New Layer button, to duplicate it. This is necessary because you're using the same image twice—once for the header, and once for the footer. Click the eyeball next to the layer, to hide it.
 Use the Move Tool to move the visible layer around, until it's in the right position for your header. Make sure you place the image so that it extends at least 5mm past the top, left, and right edges of your window. This ensures that when you put an Inner Glow on the layer, it's only visible at the bottom of the image.
 Zoom right in, and use the Selection Tool and the Delete key to remove any part of the image that extends below your gold line.
Right-click the layer in the layers list, and select "Paste Layer Style".
Click the greyed eyeball next to the layer you hid earlier, and repeat these steps, to make your footer.

7 – Adding gold text
 Using your favourite font, type in your page title.
![]() On the Character Palette, reduce the Tracking (letter spacing) to around -50, so that the letters bunch up. As a general principle, use positive tracking when you're using all capital letters. Otherwise, use a negative number.
On the Character Palette, reduce the Tracking (letter spacing) to around -50, so that the letters bunch up. As a general principle, use positive tracking when you're using all capital letters. Otherwise, use a negative number.
Double-click the layer in the layers list, choose Outer Glow. Change the following settings: Blend Mode: Normal, Opacity 100%, Colour: Black. Technique: Precise.
Choose Bevel and Emboss. Change the following settings: Gloss Contour: Ring. (This creates the nice metallic effect.) If your text turns black, just change the Angle a bit.
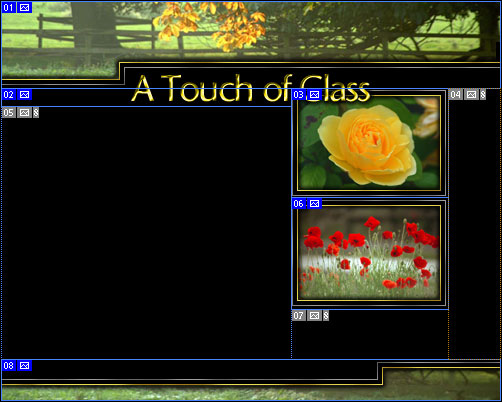
8 – Using the Slice Tool
 If you're using Photoshop 6.0 or Photoshop 7.0, just use the Slice Tool to draw boxes on your image. Click File > Save for Web, choose Jpeg, Quality 60, and each box will be saved as a separate image.
If you're using Photoshop 5.5 or earlier, the Slice Tool doesn't exist. You'll need to go Layer > Flatten Image, and for each area, you'll need to select it, Crop it (Click Image > Crop), Save it for the Web, then Undo (Ctrl+Z).
|
Header |
||
|
Piece of Title (Slice 02, above) Body Text of site goes here. You can put relevant text in this area for each of the pictures. |
Picture 1 Picture 2 |
|
|
Footer |
||
9 – Making the Images into a web page
In your web page editor, create a table of width 775 pixels (or whatever your image width is.) Create a table of three rows, and split the middle row into three columns, as shown. Insert the pictures and text in the appropriate places.
Other than that, it's all done! You may now rest your fingers. :)
