


Manager's Lunch – Page 2 of 3
This page of the tutorial shows how to make a white plate, and the steps to take, to make a cigar.
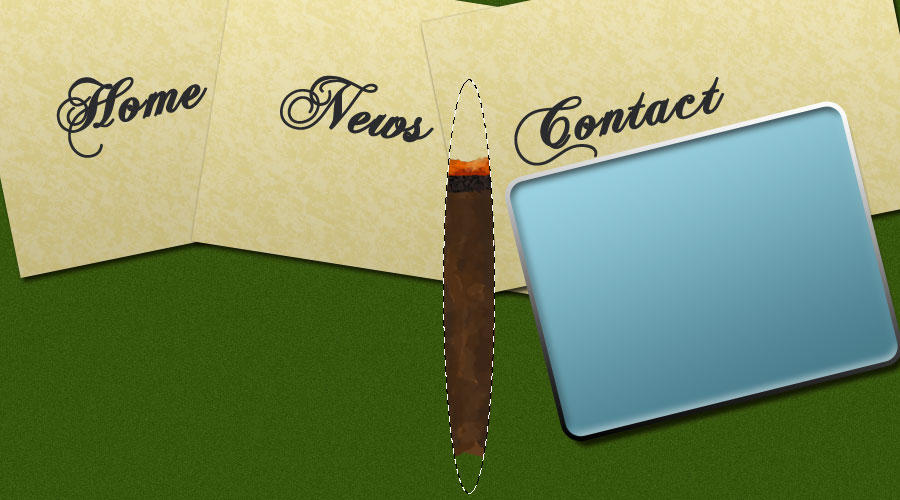
4 – A smouldering cigar
 Create a new layer.
 Use the Elliptical Marquee Tool to select a long oval shape. (Either vertical or horizontal.) The middle part of this selection will become the shape of your cigar.
 Select the Brush Tool. In the Brushes window (press F5 or Window > Brushes if you can't see it), set the following options:
- Brush Tip Shape (Choose one of the long, slanted brushes, with a size of about 20.)
- Shape Dynamics (Angle Jitter: 100%. This will make each dab of the brush be at a completely random angle.)
Choose a brown colour, and start painting inside the selected area, except for at the ends. Continue doing this, but change your colour to a slightly different brown each time. You can use [ and ] to easily change the brush size. Once the area is full of solid colour, you can add some more colour variation, by setting the opacity of your brush (top centre of screen) to 50%.
Don't worry about making the cigar look cylindrical yet.
Create a new layer. Move it above your cigar layer. Right-click it, and click Create Clipping Mask. This will make it share the Blending Options of the cigar layer.
Using a variety of darker browns, paint in a half-burnt area, just before the burning end of the cigar.
Create a new layer. Move it above the previous layer, and make it a clipping mask too.
With a variety of reds and very bright oranges, paint in some burning embers at the end of the cigar.
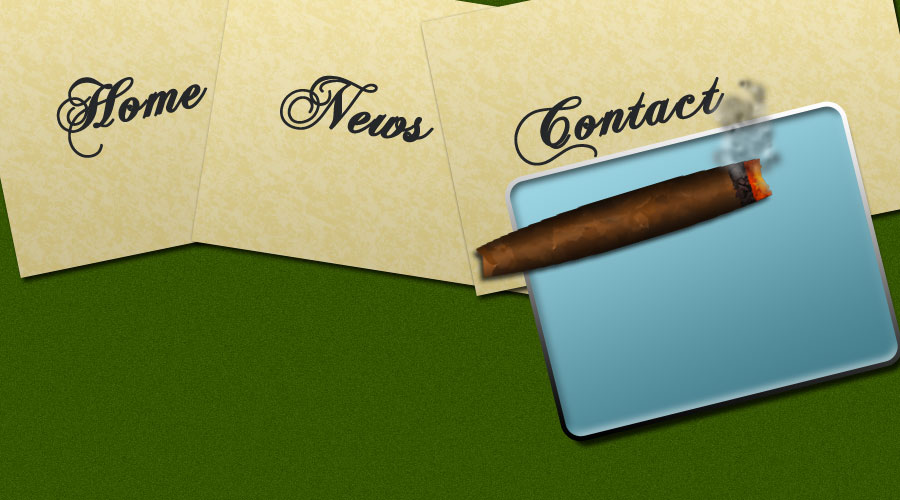
5 – Finishing the cigar
Set some Blending Options for your cigar.
- Drop Shadow
- Gradient Overlay(Blend Mode: Overlay. Opacity: 64%. Reverse: Ticked. Style: Reflected. Choose an angle that's appropriate for the orientation of your cigar. It should look bright along the top, and dark at the edges.)
For each of these layers you've painted (and whenever you paint anything), you can easily change its overall colour, by using the Hue/Saturation window. Press Ctrl+U to bring it up, and play around with it.
 Create a new Layer Set, and drag all these cigar parts into it. Right-click it, and click Merge Group. (You might also want to click Duplicate Group first, to make a backup copy of your cigar parts.)
Press Ctrl+T, and move your cigar into place.
Create a new layer.
Brush in some smoke, using the following Brush options. (I used colour #808080 here.)
- Brush Tip Shape (A diffuse brush, about size 35. Spacing: 100%.)
- Shape Dynamics (Size Jitter: 50%. Roundness Jitter: 50%.)
- Color Dynamics (Brightness Jitter: 50%.)
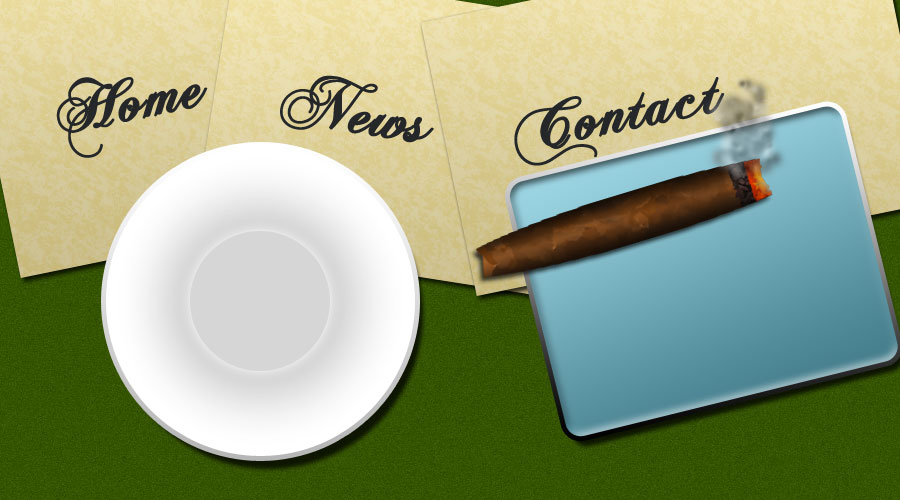
6 – A nice white plate
 Set your foreground colour to white. Using the Ellipse Tool, hold shift, and draw a large circle.
Set some Blending Options for your circle:
- Drop Shadow (Distance: 15px.)
- Inner Glow (Blend Mode: Normal. Opacity: 100%. Colour: White. Choke: 0px. Size: 81px.)
- Gradient Overlay (Opacity: 35%. Style: Radial.)
- Stroke (Size: 5px. Fill Type: Gradient. Gradient: Change the colours to grey (I used #B6B6B6), and white.)
Set your foreground colour to a light grey. (I used #D6D6D6 here.) Using the Ellipse Tool, hold shift, and draw a smaller circle, inside the large one.
Set some Blending Options for this smaller circle:
- Outer Glow (Blend Mode: Normal. Opacity: 100%. Colour: Very light grey (I used #E9E9E9 here). Size: 16px.)
