Silhouette Website Header – Page 2 of 4
Stop. Doodad time!
To populate the hill, you'll need to make a few sets of doodads. If you're careful, you can use each doodad multiple times without it being obvious.
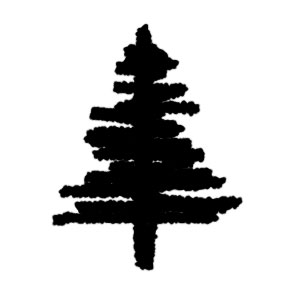
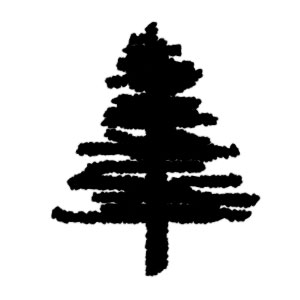
4 – Trees
Click File > New. Create a new 300px by 300px image.
 Create a new layer. Don't forget! (If you paint your tree on the background layer, it will be stuck to the white background.)
 Click on the Brush Tool. Choose an elliptical-shaped brush, set its diameter to about 15, and set some brush dynamics. (I used 100% Angle Jitter and 20% Size Jitter.) Paint a trunk, and then paint the rough shape of a pine tree.
Repeat this whole step two or three times.
The trees look a bit sinister, don't they? Excellent. :)
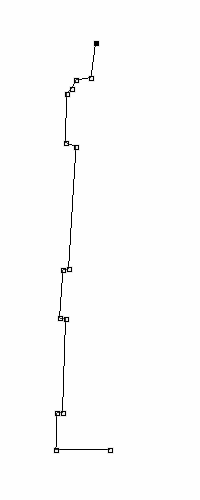
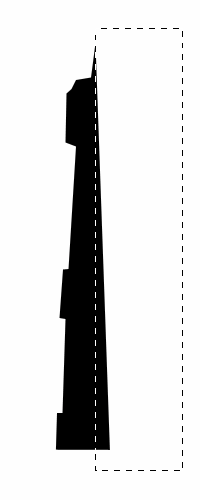
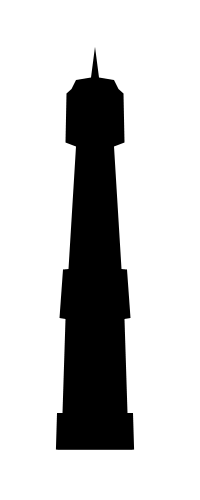
5 – The tower
Click File > New. Create a new 200px by 500px image.
 Use the Pen Tool (not the Freeform Pen) to add a series of points, in the shape of half a tower, as shown. Photoshop will draw a path that connects the points. (Window > Paths if you want to see your paths.) You may need to zoom in (Ctrl +). You can move points around by holding Ctrl as you drag them. You can invent your own style of tower if you like.
Right-click the path, and click Make Selection.
 Create a new layer.
 Fill the selection with black.
 As shown in the second image, use the Rectangular Marquee tool to cut off any excess (by pressing Delete), so you have exactly half a tower.
Right-click this layer, and Duplicate it.
Click Edit > Transform > Flip Horizontal.
 Click on the Move Tool, but don't use it. Just nudge your new half-tower to the right (by pressing the right arrow key), until the halves line up, to form a whole tower.
Right-click your layer, and click Merge Down. This makes the two layers into one.
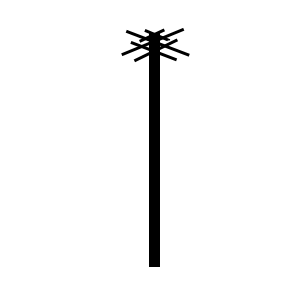
6 – A telegraph pole
Click File > New. Create a new 300px by 300px image.
 Create a new layer.
 Using the Rectangular Marquee Tool to select a post-shaped area (mine is 11 pixels wide).
 Fill the area, using the Paint Bucket Tool.
 Select the Line Tool. (It might be hidden under the Rectangle Tool.) At the top left of the screen, click the third little square, that says "fill pixels" when you move the cursor over it. Set the Weight to 3, and draw criss-crossing lines, as shown. It doesn't need to be perfect.


