


Atlantis
By using the Ocean Ripple filter, and the Bevel option, this tutorial creates a website whose buttons are islands that sink beneath the waves.
1 – Making the ocean
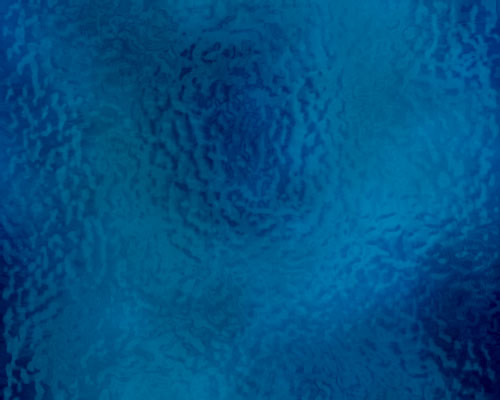
Set your foreground and background colours to a dark blue and a very dark blue.
Click Filter > Render > Clouds.
 Create a new layer.
Set your colours to white and 50% grey (half way between black and white.)
Click Filter > Render > Clouds.
Click Filter > Distort > Ocean Ripple. Change the settings to give you reasonably-sized waves.
Change the layer's Mode from Normal to Color Burn.
If you're not happy with the colours, go to your blue layer, and press Ctrl+U to bring up the Hue/Saturation properties.
2 – Creating some islands
Create a new layer.
Press "D" to set your colours back to black and white.
Click Filter > Render > Clouds.
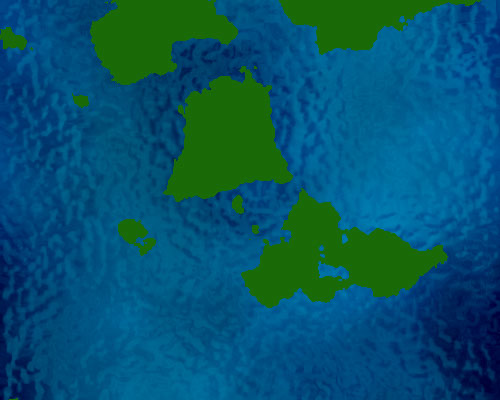
Click Image > Adjustments > Brightness/Contrast.
Set the Contrast to +100, and adjust the brightness to alter your "sea level". If you get no islands, press Cancel and then Ctrl+F to redo your clouds.
Click Select > Color Range, and choose Highlights from the drop-down box. Press OK.
Press Delete.
Once you have a few islands, press Ctrl+U to bring up the Hue/Saturation properties, and Colorize them to green. (You'll need to tick the Colorize box, and increase the Lightness.)
3 – Mountains and Sandy Beaches
In the Layers list, drag this layer below Layer 2, so it shares the Ocean Ripple effect.
 Use the Lasso Tool to select each large island and move it to the edge. Move the smaller islands with the larger ones.
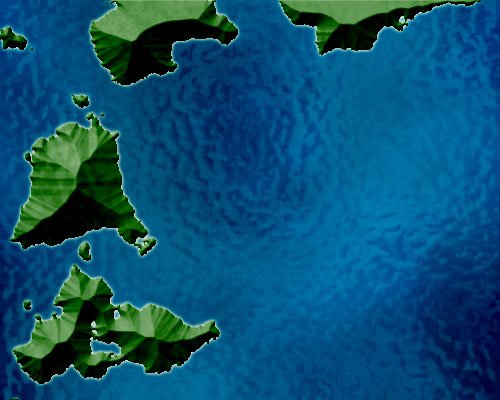
Right-click this layer in the Layers list, and choose Blending Options.
Turn on Outer Glow.
Turn on Bevel, and change its settings to: Inner Bevel, Chisel Soft, and set the Size high enough that there are no mountains with flat tops.
4 – Adding Text and Merging Layers
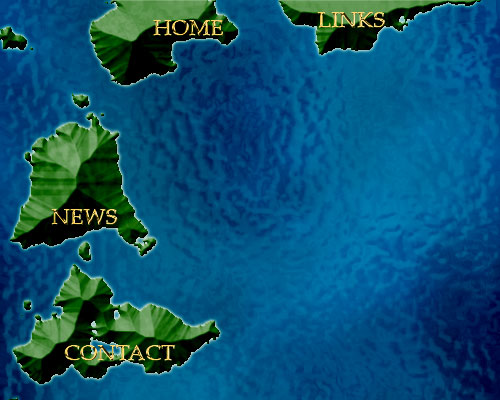
 Use the Text Tool, and type in one title for each of your islands.
For each of your text layers, right-click on it, and choose Blending Options.
Set the Size to 1, set the Gloss Contour to Ring - Double, and turn Antialiasing on.
In the Layers list, click one of these layers. Link this layer with the other text layers, and with your green "islands" layer. (To link them, click the empty box next to the eyeball.)
Press Ctrl+E to merge all these layers.
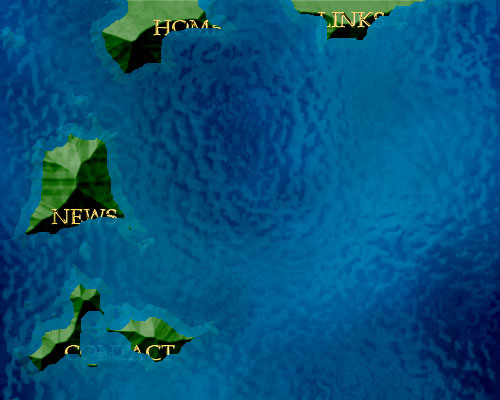
5 – Bringing in the Water Line
Ctrl+Click on this layer in the Layers list to select it.
Click Select > Modify > Contract. Type in "10" and press OK.
 With the Selection Tool, right-click your image, and choose "Layer via Cut". This should now give you two layers - one being the centres of the large islands, and the other layer being the coastal regions.
To make this coastal layer look submerged, set the layer's Opacity to around 17%. Change its Mode from Normal to Linear Dodge if you're using Photoshop CS.
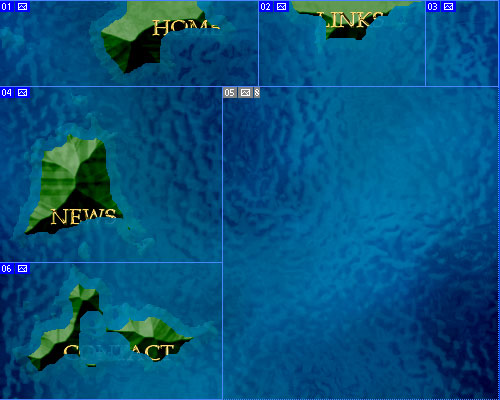
6 – Using the Slice Tool
 Use the Slice Tool to cut your image up into the various islands you've made, similar to the diagram above.
Click File > Save for Web. Choose Jpeg, Quality 60.
This saves each box as a separate image.
Set your coastal layer's opacity and Mode back to 100% and Normal, and Save for Web again.
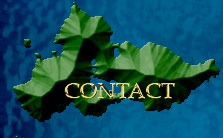
7 – Creating a Mouseover Image
In your web editor, create a Rollover (Mouseover) image, with the normal version of each island as the base image, and the "submerged" image as the "moused over" state of the image.
If you like, you can reverse these images, so that the island pops out of the sea when moused over.
