


Displacement
It's easy to make a coloured block of text, or a simple diagram (e.g. a flag), but to make it look like it's actually real, you'll need to follow these steps:
1 – Setting Up
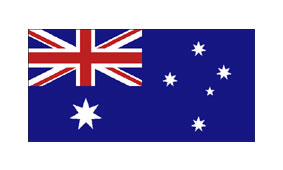
Take your object (Australian flag in this case), and make some space around it, by clicking Image > Canvas Size, and putting in a greater height and width for the canvas.
2 – Creating a Gradient
Now make a new image, the same size as your first image.
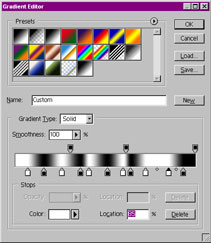
 Select the "Gradient" tool, and edit the gradient (Click on the visual representation of the gradient, or click on "Edit" on the Options tab.) Put in lots of black and white markers, as I've done in the image (this will make your gradient produce black and white bars).
3 – Applying the Gradient
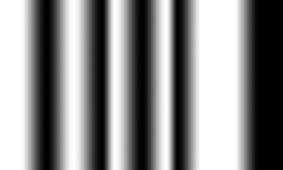
Hold down Shift, and apply the gradient across your new image from left to right.
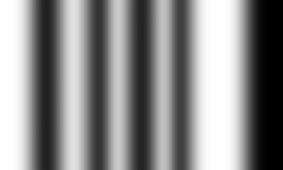
4 – Softening the Gradient
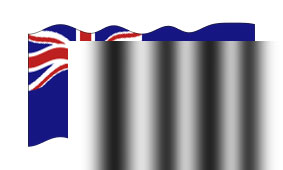
Click Filter > Blur > Gaussian Blur, and blur your image a bit. This image is now your "displacement map". Save this image (I generally use the name "dispmap.psd").

5 – Applying the Displacement Map
Now go back to your original flag image, and click Filter > Distort > Displace. Put 0% in "Horizontal Scale" and 5% in "Vertical Scale". (You can go higher if you want the waves to be bigger.) When it asks for a file, select your displacement map. (This will distort your image depending on how dark the displacement map is at that point.)
6 – Bringing in the Displacement Map
Now grab your displacement map image, and drag it onto your image. Use the arrow keys to nudge the displacement map until it covers the whole image.
7 – Using an Overlay to Create Some Light
Change the displacement map layer's Mode from Normal to Overlay, and reduce its opacity (75% is good).
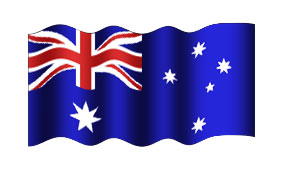
Voila, a funky flag. Scroll up and compare this image to the first one, and you'll really notice the difference.
This technique can also be used to make realistic curtains, ribbons, and banners.
