


Sunlight Web Design Tutorial – Page 1 of 2
By using some Clouds, Noise, a few adjustment layers, and some ornaments, this tutorial demonstrates how to create a website with a very nice, sparkling, sepia effect. Tutorial requires Photoshop 6.0, 7.0 or above.
1 – Creating a Noise Gradient
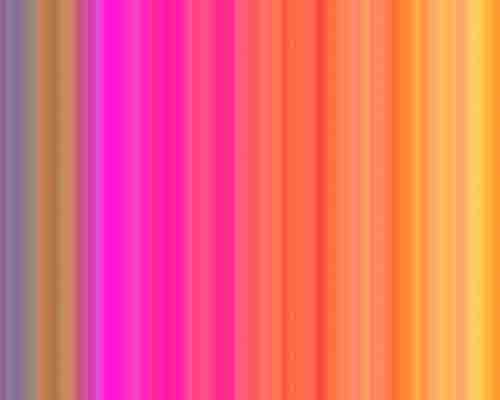
 Select the Gradient Tool (possibly hidden under the Paint Bucket Tool.) Click on the visual representation of the gradient, at the top left of the screen. Change the Gradient type from Solid to Noise. Click Randomize a few times, until you get a gradient that's not too contrasting, or too mild. The colour doesn't matter.
Apply the gradient sideways across your screen. Hold Shift to keep it straight.
2 – Adding Adjustment Layers
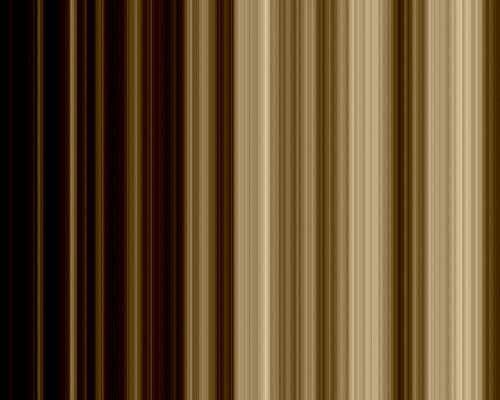
 At the bottom of the Layers Palette, click the "Create new fill or adjustment layer" button. Select Hue/Saturation. Set the Saturation to 7, the Lightness to -9, and change the hue until your image is as brown as possible. (This will depend on how your Noise Gradient came out.) Click OK.
Create a new Adjustment Layer, but this time, make it a Brightness/Contrast layer. Set it to -30 Brightness, and +80 Contrast.
Using Adjustment Layers allows you to go back and change these settings later. Using these same options from the Image menu makes them irreversible.

3 – Using Clouds for extra randomness
 Create a new layer.
Click Filter > Render > Clouds.
To add some realistic graininess to the image, click Filter > Noise > Add Noise. Set it to 4%, Gaussian, Monochromatic.
Change this layer's mode from Normal to Overlay.
Above this layer, create another Brightness/Contrast Adjustment Layer. Set it to Brightness +43, Contrast -21.
4 – Checking that everything's okay
At this point, your Layers Palette should look like this (except that your Clouds and Noise Gradient will be different.)
